Revit Cube Map to Equirectangular Panorama
In this guide we will look at converting the Revit cube map render output to an equirectangular panorama. These are supported by most, if not all, online viewers.
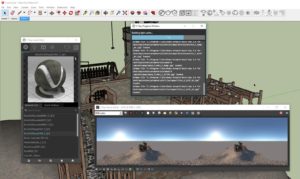
To find out how to render VR ready cube maps with Revit, look at my previous guide, here.
Used in this tutorial
- Adobe Photoshop CC 2015
- Domemaster Photoshop Actions Pack 2.5
If you are working with another image editor than Photoshop, it should technically be possible to do all of the actions manually, but the Actions Pack makes it significantly easier. You can always download the newest version of it from their GitHub page. You can have a look at the documentation for it, including instructions for installation, here.
Step 1. Getting the Image Ready
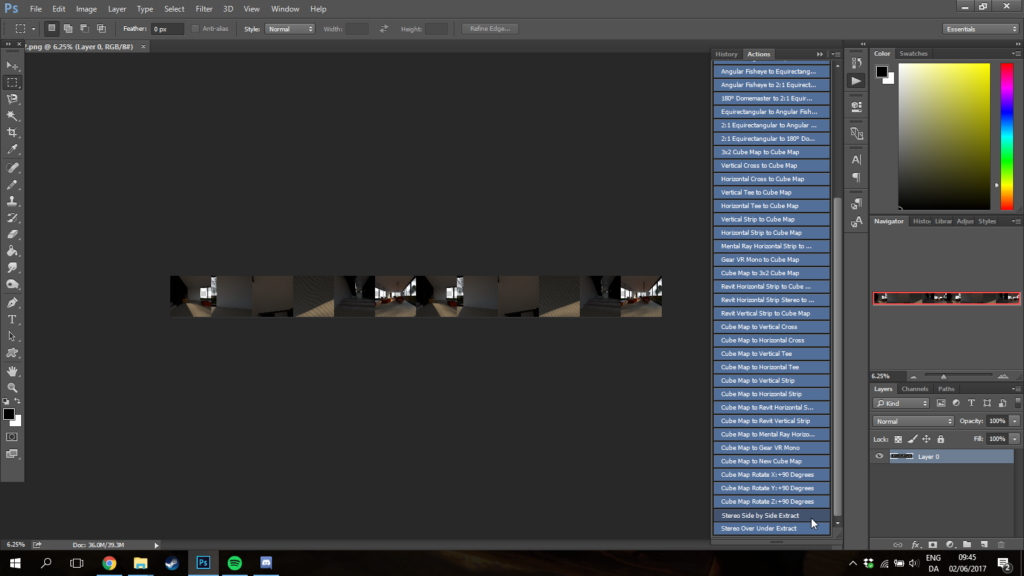
Before we start, lets just take a quick look at the image I’ll be starting from. We’ll need to split this up into 12 seperate images before we can stitch it back together. Since the end result is just going to be 12 seperate image file, you can really do this with any image editor, but the Photoshop actions used in this tutorial save quite a bit of time.

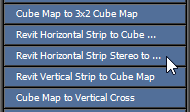
Since we’ll be using Photoshop actions to do most of the conversion for us, let’s look at the requirements for doing so. The action we’ll need to use is called Revit Horizontal Strip Stereo to Cube Map Stereo. The requirements in the documentation are as follows:

Well. That’s not what our image looks like. We’ll need to move the right part of the strip on top of the left part, like so:

To do that, we can use the Stereo Side By Side Extract action. You should be able to find this if you installed the actions pack correctly.
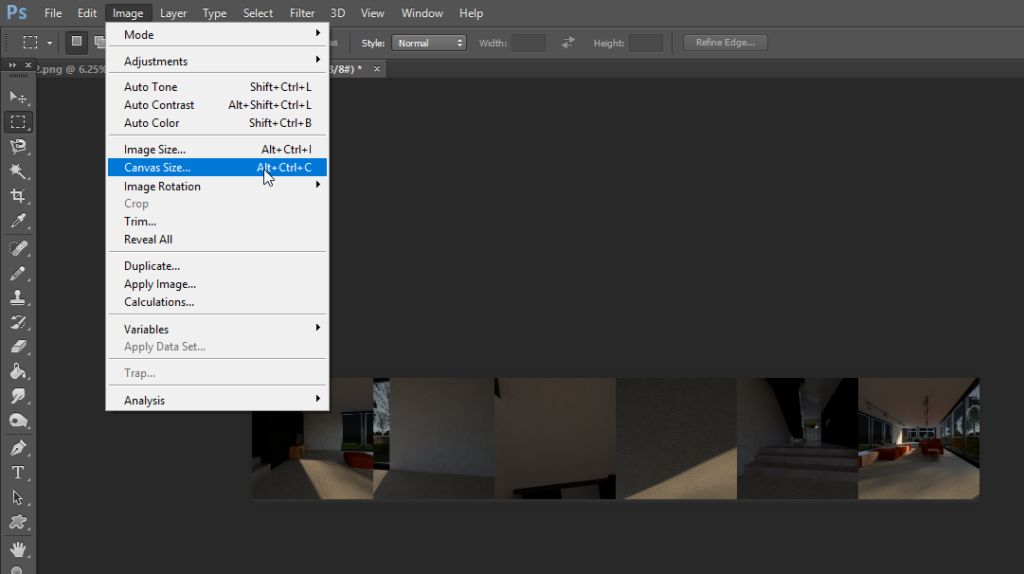
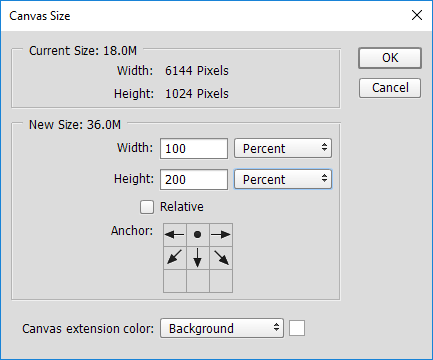
This should leave you with a new image containing a layer called right, and a layer called left. To be able to see them both at once, we need the image to be slightly larger. Head into Image -> Canvas Size to fix that.
Here we want to double the height of the image, so set the height to 200%. Make sure you anchor it to the top instead of in the middle.
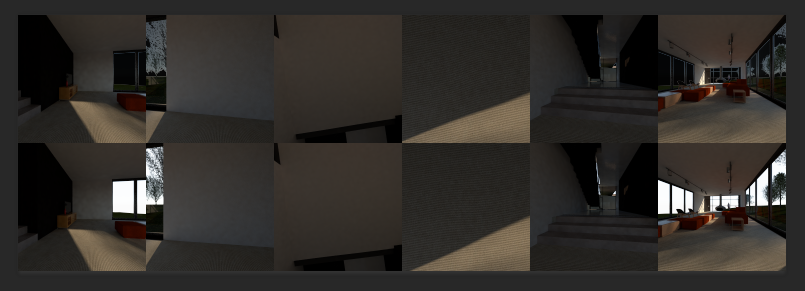
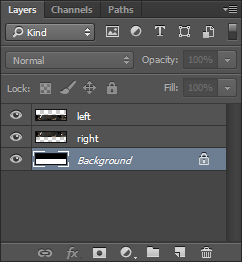
Using the move tool, place the layer called left below the right layer, this will give you an image similar to this.
To remove the black background from the top half of the picture, delete the background layer.
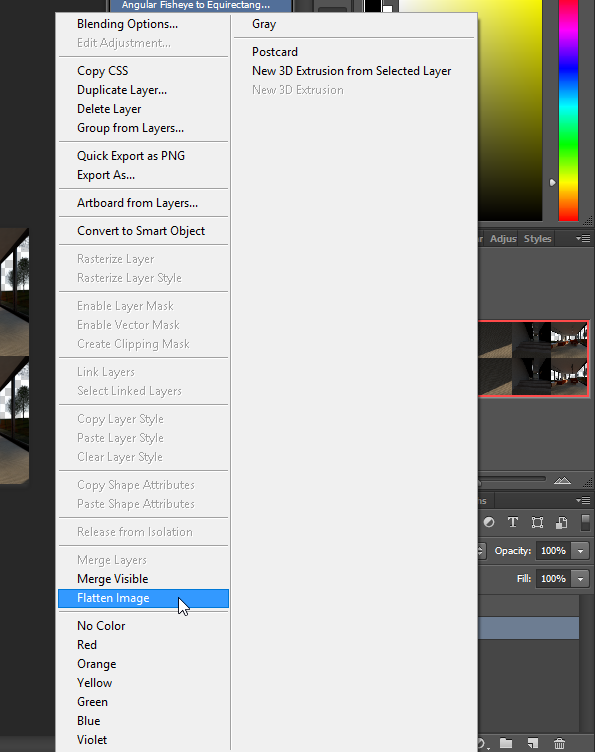
Finally, before we’re ready to move on, flatten the image by right clicking one of the layers.
Step 2. Breaking the Image Apart
Now that our image is the correct layout, hit the Revit Strip to Cube Map action.
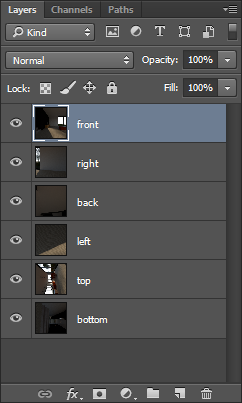
By the end of the conversion, you will have two images, each containing layers for back, bottom, front, left, right and up. You can delete the background layer from each. The first image Photoshop generates should be the one that was on top previously, which means it’s the right perspective.
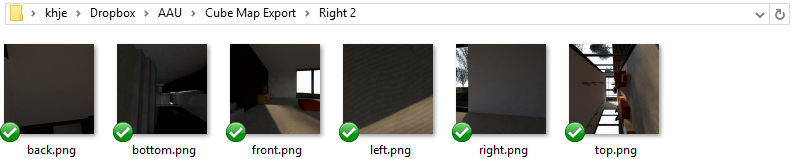
Now you need to save each of these layers as their own picture. You can do this manually, but I used a Photoshop script that does it automatically. You can find that here. I would recommend making a folder for each perspective so you can remember what goes where.
Step 3. Fixing Some Things
However, there is a problem with these files. Somewhere along the way, we used some actions that weren’t quite compatible with each other, so some of the images have been named incorrectly, and rotated unnecessarily, so we can’t convert it to a panorama just yet. Fortunately, this is fairly easy to fix.
First, the images should be renamed as follows:
- Top -> Top1 (Since we need the name ‘Top’ to be free)
- Back -> Top
- Bottom -> Back
- Left -> Bottom
- Front -> Left
- Top1 -> Front
Right is correct already, so you don’t need to rename that.
Next, you need to fix the images that were rotated. This can be done with the default Windows image viewer. The following images are the ones that need to be rotated. All rotations are clockwise.
- Back – 270°
- Bottom – 180°
- Front – 90°
- Top – 180°
And that’s it. You files should be ready at this point.
Step 4. Conversion
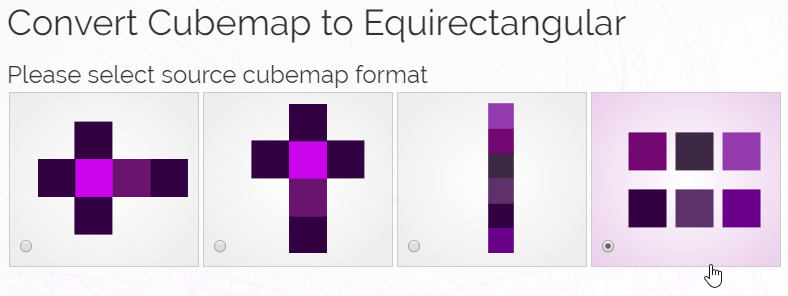
Okay, all set. Head over to 360toolkit.co and select the Six Seperate Files option.
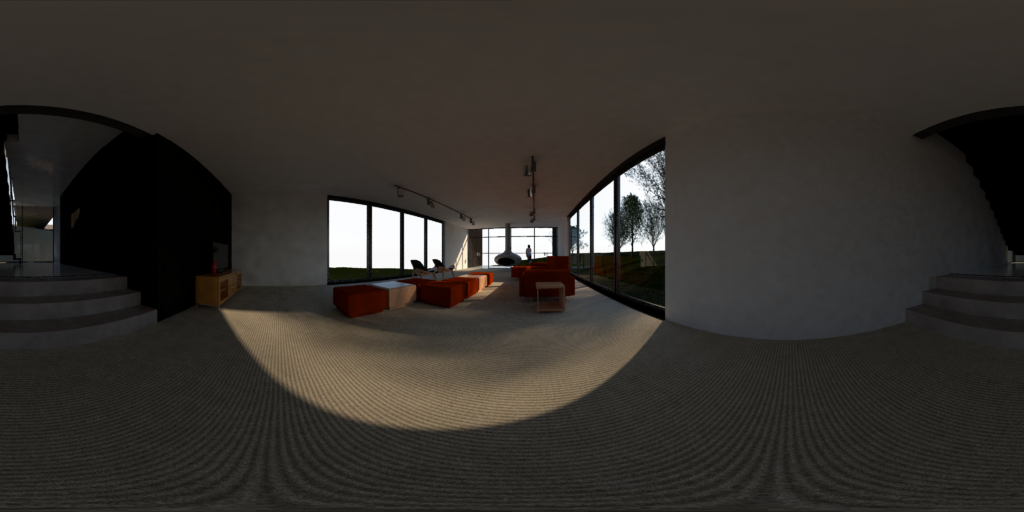
Simply upload your files and it will return an equirectangular panorama created from your cube map. The one I just made for the right eye looks like this:
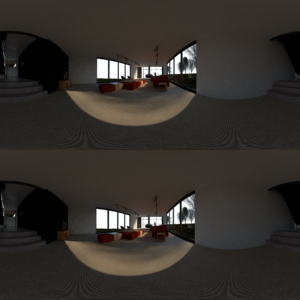
Time to head back and do the same thing for the left perspective. When you’ve done that, you need to head back to your preferred image editor and put them together. For stereo equirectangular panoramas, the left image needs to be on top. Here is what that looks like.
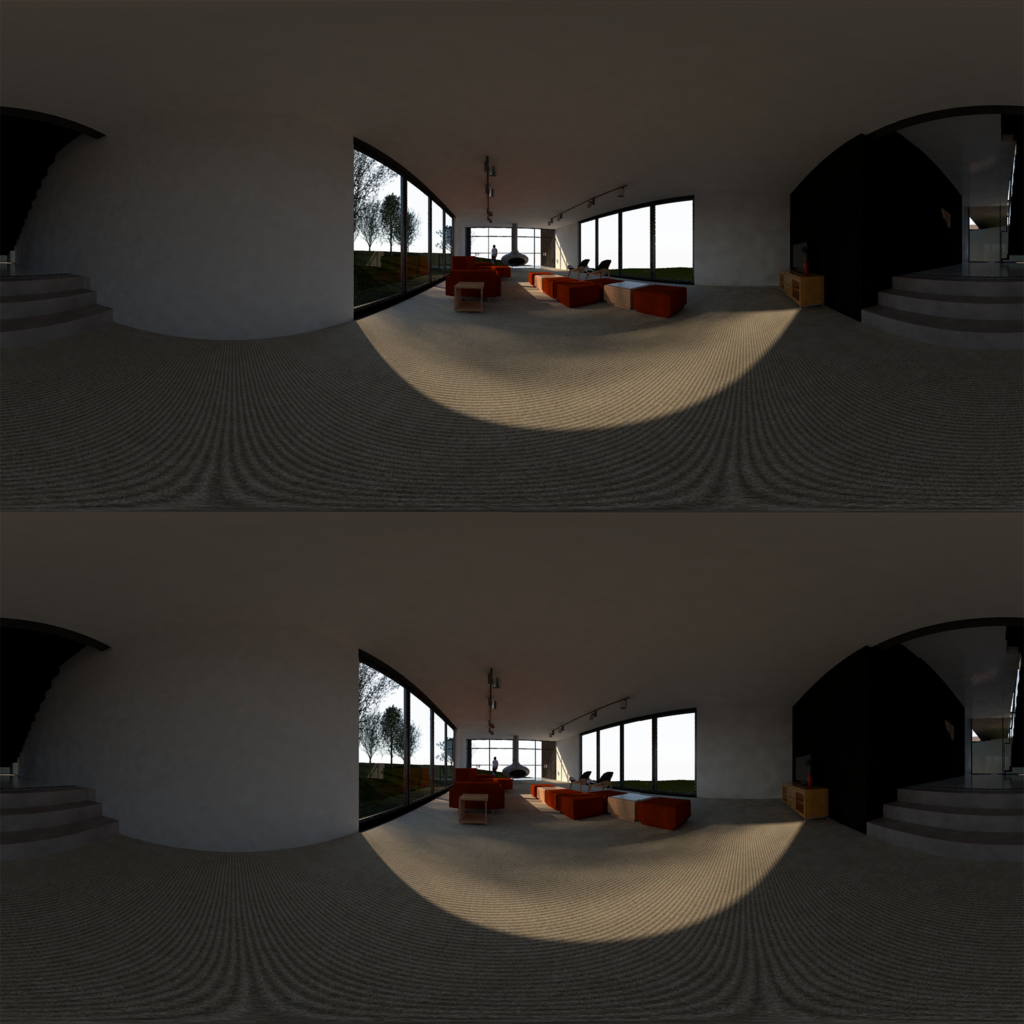
This image has one final issue. It has been mirrored compared to the original model. So before you upload it anywhere, make sure you mirror it back correctly. Here is my final image:
Now your image should be ready for viewing basically everywhere on the web. Here it is in the Wordpress VR Viewer mentioned in the guide on displaying 360° images.
[vrview img=”http://kasperhalkjaer.com/wp-content/uploads/2017/06/Revit4.png” stereo=”true” width=”100%” height=”600px” ]
 Next Post