Stereoscopic 360° Images in 3ds Max
This tutorial will cover the basics of creating stereoscopic 360 degree renders in 3ds Max using Mental Ray and the free Domemaster3D plugin.
Used in This Guide
- 3ds Max 2018
- 3ds Max Domemaster3D 2.3
- NVIDIA Mental Ray for 3ds Max 2018
Domemaster3D can be downloaded from this link. If you don’t already have Mental Ray, that can be downloaded here.
Step 1. Set up Your Model
Open the model you want to use for your 360 degree render. For this tutorial, I am using a free house model from the TurboSquid 3D warehouse. The model can be downloaded here.
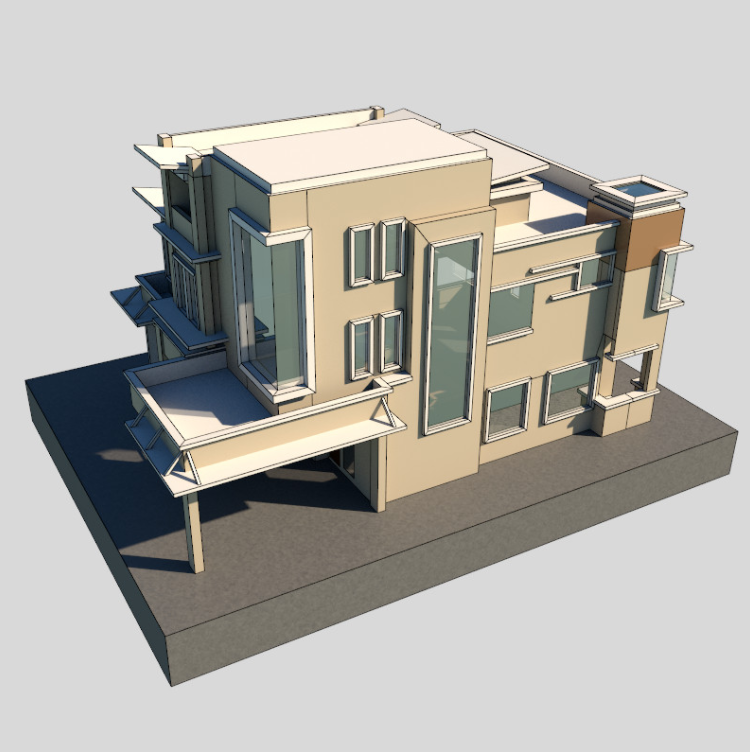
If your model is not already at the correct scale, make sure to scale it so it is. If the model is at the wrong scale, users will be able to tell when viewing it in VR, due to the interpupillary distance being scale dependent. In my case, I scaled this three storey house to be slightly more than 6 metres tall.
Step 2. Position the Camera
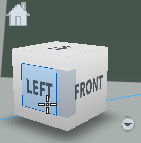
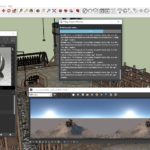
Start by positioning your viewport in the location you want to be the center of your render. Then click the ViewCube to make sure the view is looking straight on the horizontal axis. This means that Front/Back, Left/Right, and the mid points are all okay. As long as the camera is not tilted, you should be fine.
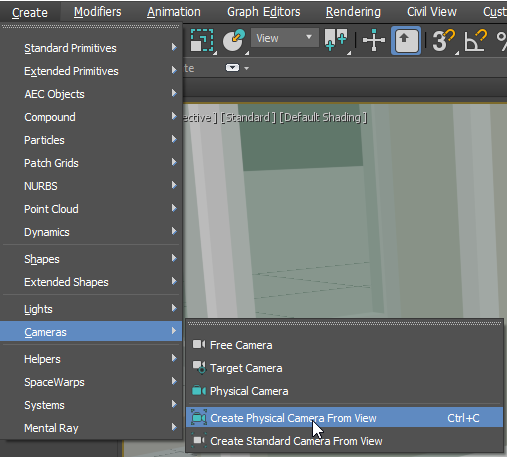
If you want to work on the model more, you can hit Ctrl+C, or go to the Create menu, to create a camera at the current view point. This will let you return to the correct position again easily.
Step 3. Configuring Domemaster3D
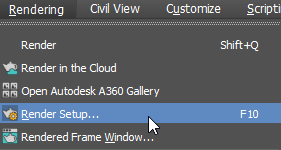
To start configuring Domemaster, head into the Render Setup.
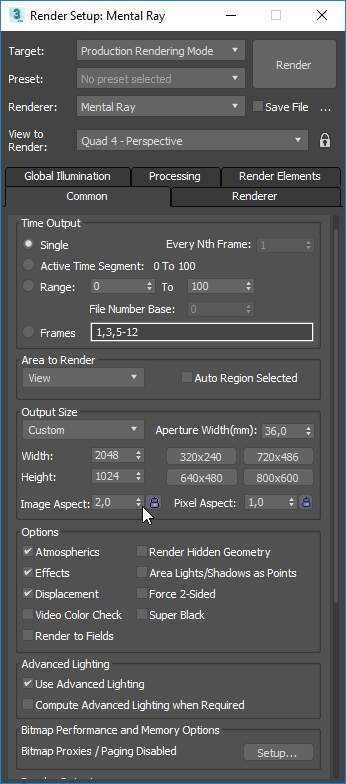
Start by setting the Output Size to something with an aspect ratio of 2:1. 2048×1024 is a good size for preview renders, but for your final render, you should try to do at least 4096×2048.
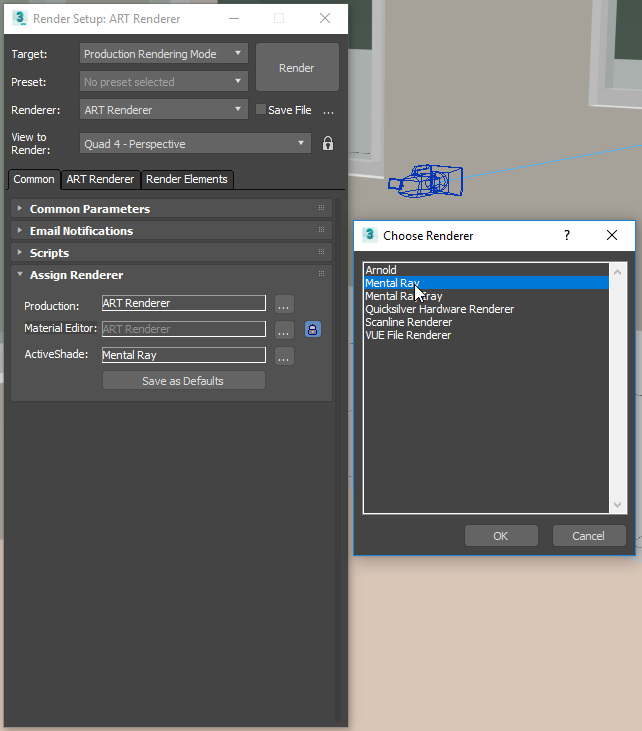
Assuming you have installed Mental Ray correctly, you should be able to change the settings for Production and ActiveShade to Mental Ray, so go ahead and do that.
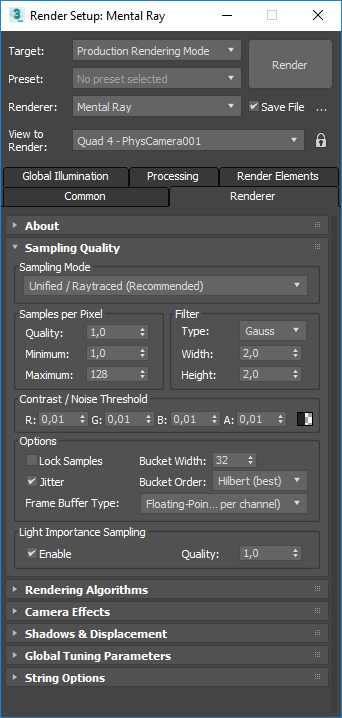
Now you’re going to switch to the Renderer tab of the Render Setup menu. For Sampling Quality you can go with whatever you prefer. Of course higher quality will mean slower renders. These are the settings I’m using for this tutorial.
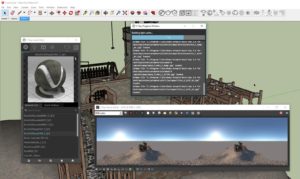
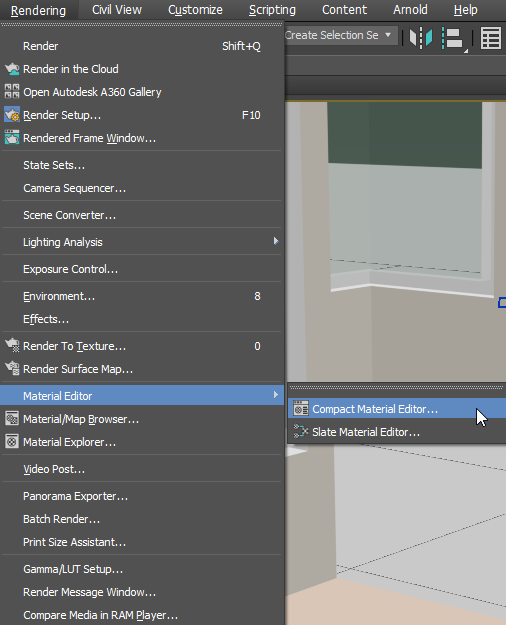
Now it’s time to get into the Domemaster specific settings, so head to Camera Effects and click the Lens settings.
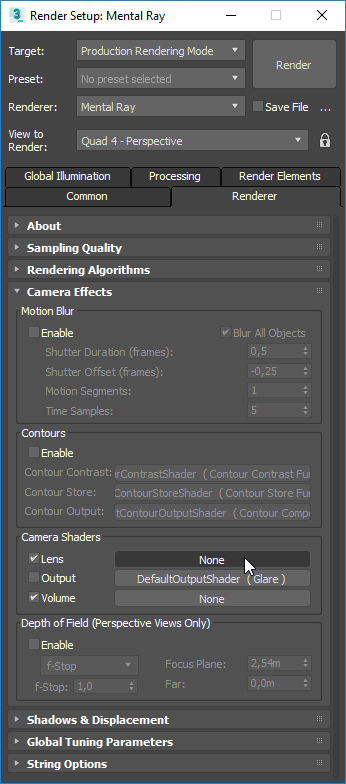
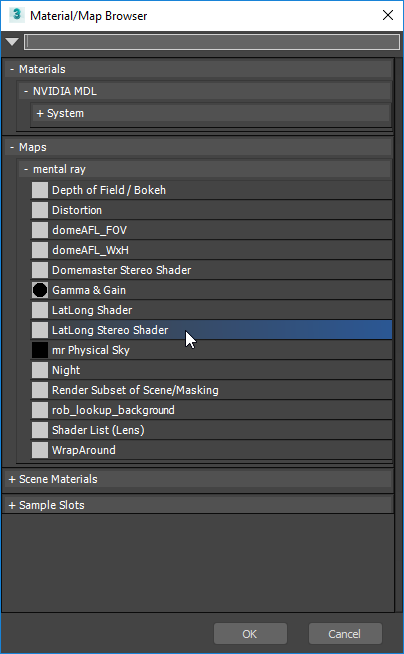
This will open up the Material/Map Browser. If Domemaster was installed correctly, you should have an option called LatLong Stereo Shader. This is what you will need to create an equirectangular panorama.
To be able to change the settings for the LatLong shader, leave the Render Setup window open, but open up the Compact Material Browser as well.
Now, drag the Map from the Lens setting to an unused material.
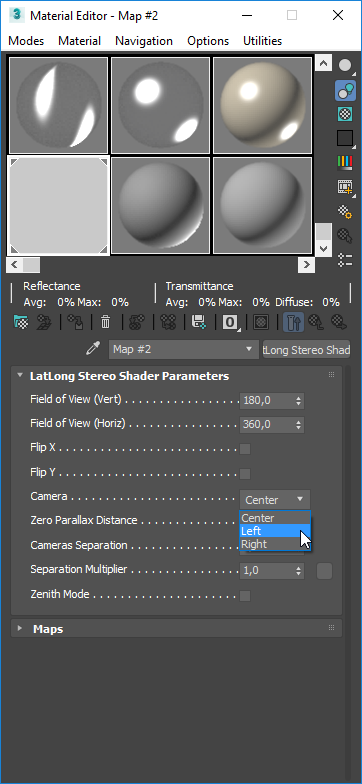
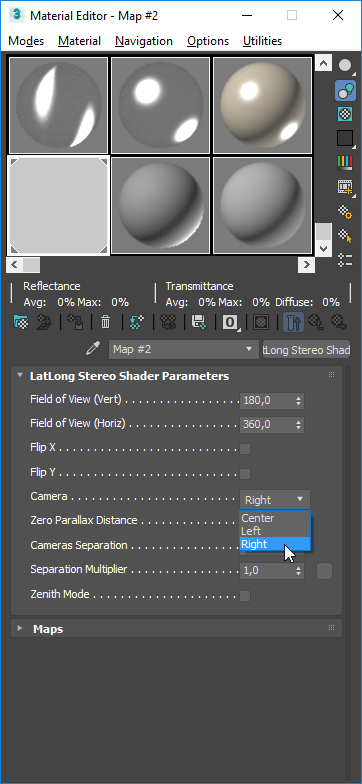
You’re almost ready to render now, but you still need to change a few final settings to create a different image for each eye. In the Material Editor for the map we just configured, go to the Camera setting and select Left.
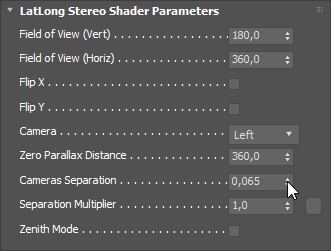
In the same menu, you need to change camera separation depending on the units you are working with. It is set to 6.5 as default, which is correct if your 3ds Max is set to centimeters, otherwise you will need to adjust it. My 3ds is set to metres, so the camera separation needs to be 0.065 instead.
Step 4. Rendering
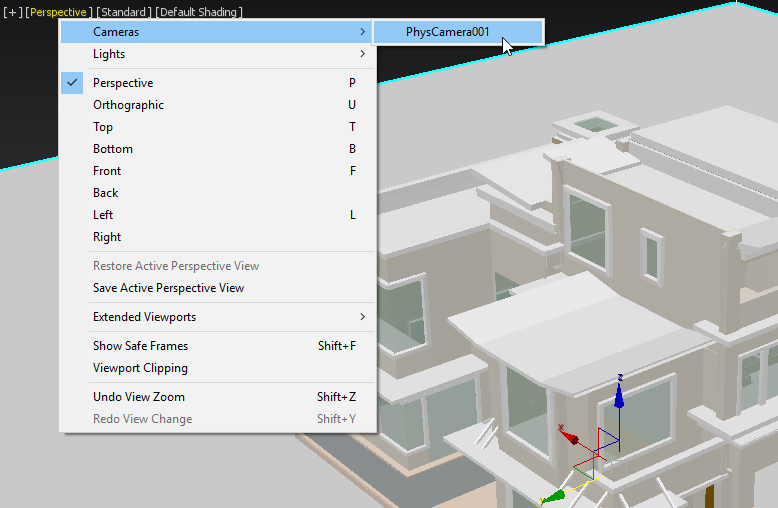
Alright, we’re ready to render the image for the left eye. Make sure your viewport is at the correct location. If you placed a camera earlier, you can return to it like so:
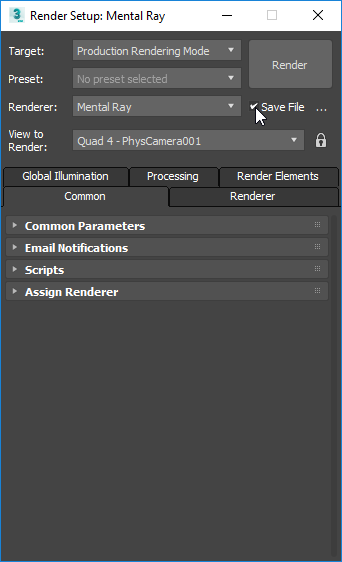
Open the Render Setup menu again, and make sure you check the Save File option. Give your image a name and you’re all set.
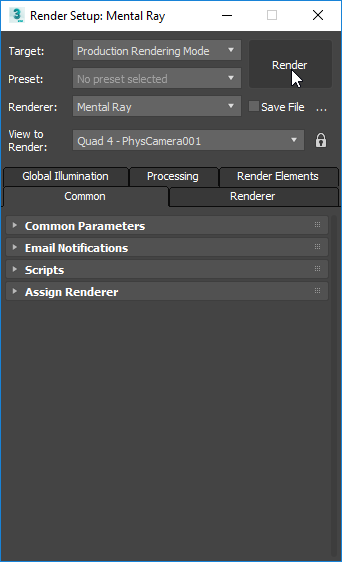
Hit the Render button to get started.
Alright, now we have an image for the left eye. To render an image for the right eye as well, head back to the Compact Material Editor, and change the Camera setting for the LatLong shader to Right.
Pick a new name to Save File as to make sure you don’t overwrite the one you just rendered, and then hit the Render button again to render the right-eye view.

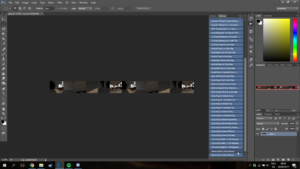
Now we have to seperate files, one for each eye.
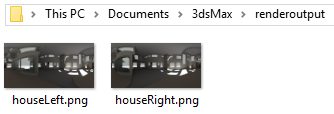
To be able to view them in most of the common 360° image viewers, you will need to stitch them together. Using your favorite image editor, put them on top of each other, so the left image is on top, and the right image is on bottom. Here is what my image looks like.

And here it is in a Google Cardboard compatible viewer.
[vrview img=”http://kasperhalkjaer.com/wp-content/uploads/2017/05/house9.png” stereo=”true” width=”100%” height=”600px” ]
 Previous Post