360° Images with Revit and V-Ray
This guide provides a quick introduction to creating 360 degree images in Revit, using V-Ray for rendering.
Used in This Tutorial
- Autodesk Revit 2017
- V-Ray for Revit 3.40
At the time of writing this, V-Ray does not support Revit 2018 yet.
Step 1. Getting Ready
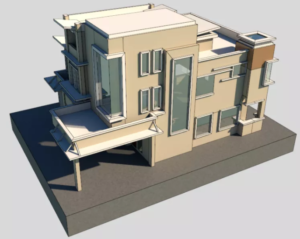
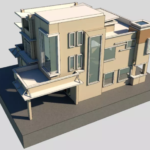
First things first, you’ll want to load up a model. For this tutorial, I’m going to use the Revit’s Basic Sample Project.

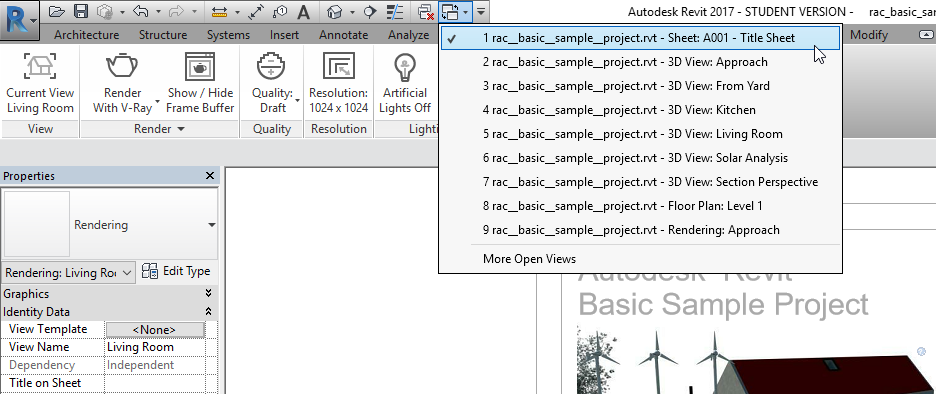
Before you can do anything with V-Ray, you need to make sure you are on the title sheet of the project, as Revit disables plug-ins in the 3D perspective views.
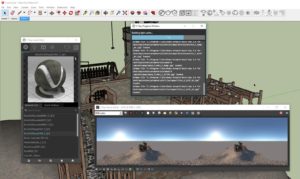
Step 2. Pick a Camera Location
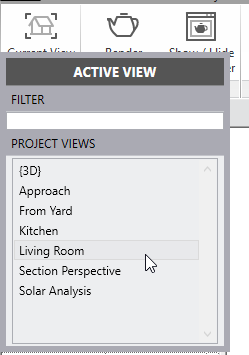
Head over to the V-Ray tab, click click the Current View button.

I’m going to render the view from the living room, so I’ll go ahead and pick that.
Step 3. Other Settings
First, you should pick the quality setting you want to render at. This will of course depend on what you need the render for. For renders early in a project, just to get a sense of lighting and scale, draft is fine. For final renders you might want to crank it up a bit.

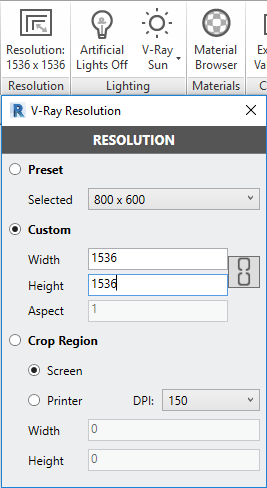
For resolution, you can pick whatever you like, as long as it’s a square. 1024×1024 is okay for faster renders, but for better quality you may want to turn it up to 1536×1536 or even 2048×2048.
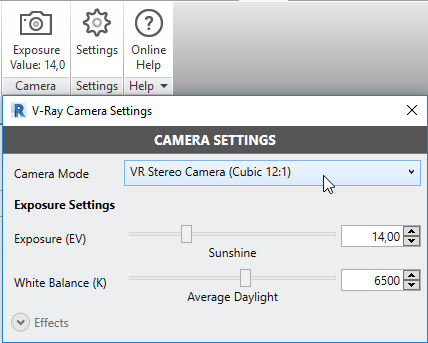
In the Camera Settings prompt, you need to set the Camera Mode to VR Camera or VR Stereo Camera, depending on what you are going to use the image for. For displaying on the web, normal VR is preferred, while stereo is better for viewing on virtual reality headsets.
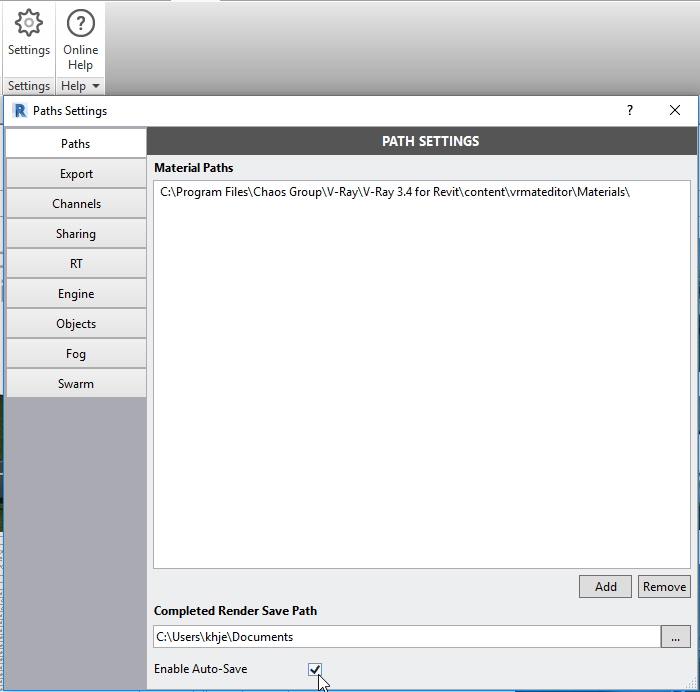
Finally, it might be a good idea to turn on auto-saves, which is done in the Settings menu.
4. Finishing up
Okay, time to hit Render With V-Ray and wait for your image to render.

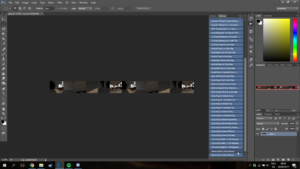
Your output image is going to be what is called a cube map, which is a series of pictures, all taken from the same point, but in different directions.
This render is a draft quality render with 1024×1024 resolution.

This image works directly in Oculus 360 Images on the Samsung GearVR headset, but for viewing on the web or Google Cardboard, it will need to be converted to an equirectangular panorama instead. For a guide on how to convert from a cube map to a panorama, head right over here.
Finally, here’s a web viewer for the final image.
[vrview img=”http://kasperhalkjaer.com/wp-content/uploads/2017/06/Revit4.png” stereo=”true” width=”100%” height=”600px” ]
 Previous Post
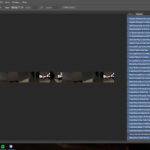 Next Post